How to Repair Small Water Leakage from the Window Inlet
Fixing Water Leakage from Window Inlets
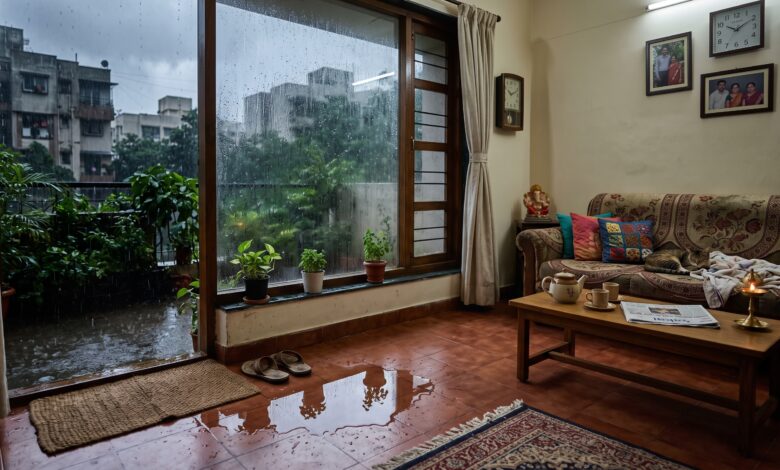
Fixing Water Leakage from Window Inlets – Moduluxe Decor How to Repair Small Water Leakage from the Window Inlet
Every monsoon, I get the same message from at least a few of you: “Water is seeping in from near my window, what do I do?” It’s one of the most common issues in Indian homes, and honestly, most of the time it’s a small fix, not a full renovation.
I’ve dealt with this in my own home too, so here’s exactly how I approached it, and how you can fix it without necessarily calling in a contractor for a minor leak.




First, Actually Find Where the Water Is Entering
This sounds obvious, but most people skip this step and jump straight to sealing the visible crack. Water often travels before it shows up as a stain, so the leak point isn’t always where the damage appears.
On a rainy day, watch the window closely for a few minutes. Check the top corners, the sides where the frame meets the wall, and the bottom sill. Small leaks usually come from one of these three spots, not the glass itself.
Check the Window Sill Slope First
The sill, the horizontal ledge at the bottom of the window, should slope slightly outward. If it’s flat or sloping inward even a little, water collects there instead of draining away, and eventually finds its way inside.
If you notice water pooling on the sill after rain, this is likely your main culprit. A mason can correct the slope with a thin layer of waterproof cement, it’s a small job, not a major one.
Reseal the Frame-to-Wall Joint
The gap between the window frame and the wall is the most common leak point. Over time, the original sealant shrinks, cracks, or simply wears away, leaving tiny gaps that water pushes through during heavy rain.
Clean the joint thoroughly first, remove any old, cracked sealant with a scraper. Let it dry completely, then apply a good quality weatherproof silicone sealant along the entire joint, inside and outside. Don’t rush this step; a smooth, continuous line matters more than doing it quickly.
Look at the Drip Line Above the Window
Many older homes skip a proper drip line, a small groove or projection above the window that stops rainwater from running straight down the wall and into the frame.
If your window doesn’t have one, a thin cement drip edge can be added above it. It’s a small addition, but it redirects water away from the frame instead of letting it sheet directly over the glass and joints.
Inspect the Weatherstripping
If your leak is happening even without heavy wind or angled rain, worn-out weatherstripping around the window edges could be the reason. This rubber or foam lining compresses over the years and stops sealing properly.
Replacing it is inexpensive and something you can do yourself. Measure the window edges, get matching weatherstrip tape, clean the surface well, and press the new strip firmly into place.
Don’t Ignore Hairline Cracks in the External Wall
Sometimes the leak isn’t from the window at all, it’s from a hairline crack in the plaster just above or beside the frame. Water enters through the crack and travels along the wall before showing up near the window.
Run your hand along the wall around the window when it’s dry; small cracks are often easier to feel than see. A waterproof crack filler followed by exterior paint touch-up usually solves this.
When It’s Time to Call a Professional
If water is coming in heavily, if you notice the wall staying damp even days after rain stops, or if there’s visible seepage inside the wall itself, this isn’t a DIY fix anymore. It could mean a larger waterproofing issue or a structural gap that needs proper assessment.
Small trickles and occasional dampness, most of the time, are fixable with the steps above. Continuous leaking or spreading damp patches need an expert to look at it before the damage grows.
A Quick Yearly Habit That Saves You Trouble
Honestly, the biggest lesson I’ve learned is that most window leaks are prevention problems, not emergency ones. Check your window seals and sills once before every monsoon, not after the leak starts. It takes twenty minutes and saves you a lot of hassle later.
That’s all for this one. I hope this helps you fix that small leak before it turns into a bigger headache.
If you found this helpful, please share it with your family and friends. Don’t forget to subscribe to our channel and follow us on Instagram and Facebook for all the latest updates and video notifications. Stay dry! — Moduluxe Decor
Read more for Monsoon hacks —